[wpdreams_ajaxsearchlite]
The ideal time of the year to transplant trees or shrubs is during springtime or fall. However, some conditions require you to do it outside this period. Suppose you need to do transplanting hydrangeas outside the recommended season. Some homeowners choose to transplant shrubs because they need to move to a different location. Another reason is or property renovation. In that case, there are important considerations that you need to keep in mind, especially if the move is during the summer season.
You need to do the right steps to maintain your tree or shrub in a healthy condition. The following are useful tips for transplanting during the summer months.

1. Look for the best location to move your plant.
Transplanting can affect a plant’s health because of the dramatic change in the environment, and they need to adapt to it to survive. It is crucial to understand factors like the nutrient level, the soil’s pH level, sunlight, and proper drainage. You also need to know the unique requirement that is best according to the type of plant, especially when transplanting hydrangeas. It is good to consider a location that is similar to the condition of the previous soil.
2. Create a hole
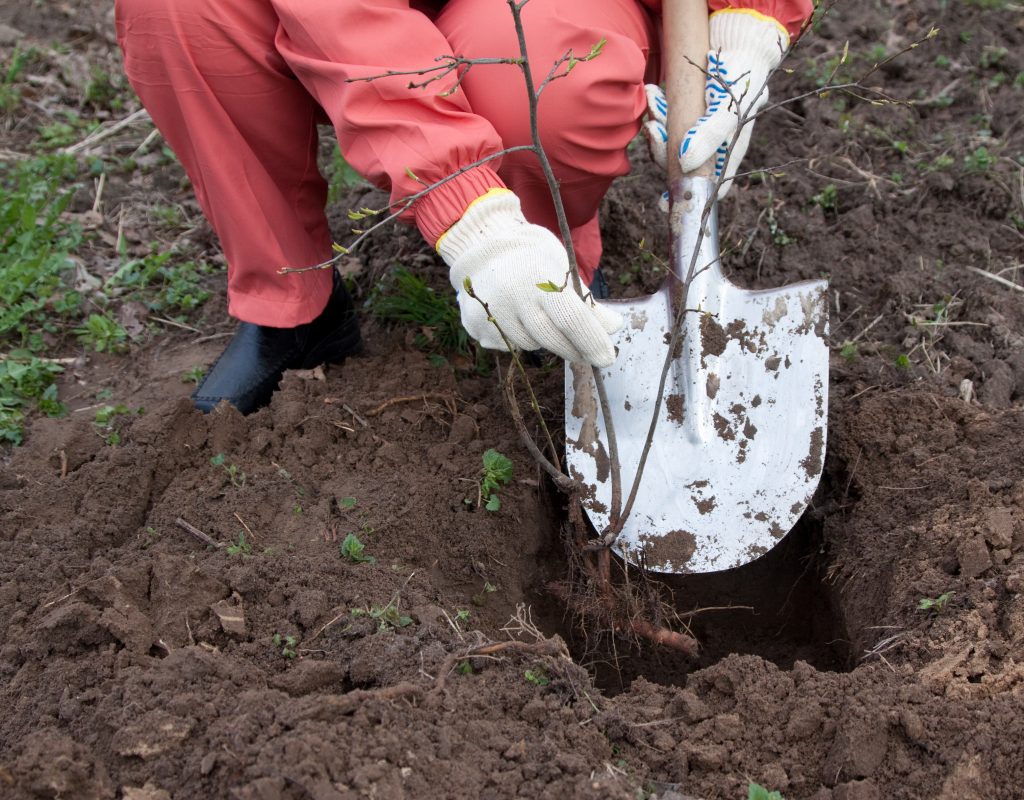
It is important to create a hole that is appropriate to the size of the root system. You must dig twice the root system’s actual size to allow the roots to grow and establish a healthy root system into the new soil.
3. Move the shrub carefully
As you remove the shrub from the soil, you need to do it carefully as possible to avoid damaging the root system. When transplanting hydrangeas, you need to take as much root as possible and avoid cutting any root. As you uproot, you also need to take some of the soil from its old location and transfer it to the new one. You can place them on a tarp for large shrubs or trees so you can easily drag them going to the new location together with some old soil.
4. Wet the soil
Before transplanting hydrangeas to the new hole, it is essential to keep the soil thoroughly wet. However, do not saturate it with too much water to cause the root system to rot. It is crucial to observe and test its moistness first before transplanting.
Truper Tools 31185 Tru Tough Round Point Shovel, D-Handle, 30-Inch
5. Place the old soil
As you place the plant into its new location, you need to put the old soil first into the new one and place potting soil. Make sure that the plant is placed upright by patting the soil around the plant. You may also choose to put some watering stakes, so you can water the plant at its root level, but not necessary. If you plan to place water stakes, you need to be extra careful to avoid damaging the root. Transplanting hydrangeas is not easy, especially for new plants establishing a root system into their old location.
6. Water and put mulch
It is important to water it properly. Hence, you can also place mulch that is 3 to 4 inches thick around. You can use wood chips, leaves, and other garden waste to protect the roots and prevent moisture from evaporating. After mulching, you need to water the mulch, but do not overdo it.
After Care and Maintenance
Furthermore, after transplanting hydrangeas, you need to look after them for a couple of weeks. It may require watering every day, especially during the summer season, when the temperature is too high to dry up the soil. Also, watering frequency depends on the soil’s condition. Most gardeners do it twice a day in the morning and afternoon. The amount of water it needs depends on its size and the roots to promote faster growth. If you see some leaves wilting and slightly changing their color, then you may need to increase their water intake a day.
Transplanting takes a lot of work, but uprooting can stress a plant no matter what time of the year. The summer heat adds to the stress and damages that the plant may suffer after uprooting.
LANSONTECH 5 Piece Gardening Tools Set Including Transplanting Spade, Trowel, Cultivator, Pruner and Gardening Gloves, Garden Tools Kit with Heavy Duty Cast-Aluminium Heads & Ergonomic
Important Note:
Also, remember that once you decide to move a plant, there is no need to prune. It is because it needs more leaves and branches to regain more energy for its speedy recovery. You need to treat it as a new plant. You do not need to apply fertilizer for one year after transplanting because fertilizer can damage the root system and adds stress. Fertilizer can promote top growth, and it is not suitable for establishing roots.
Recommended Readings:


